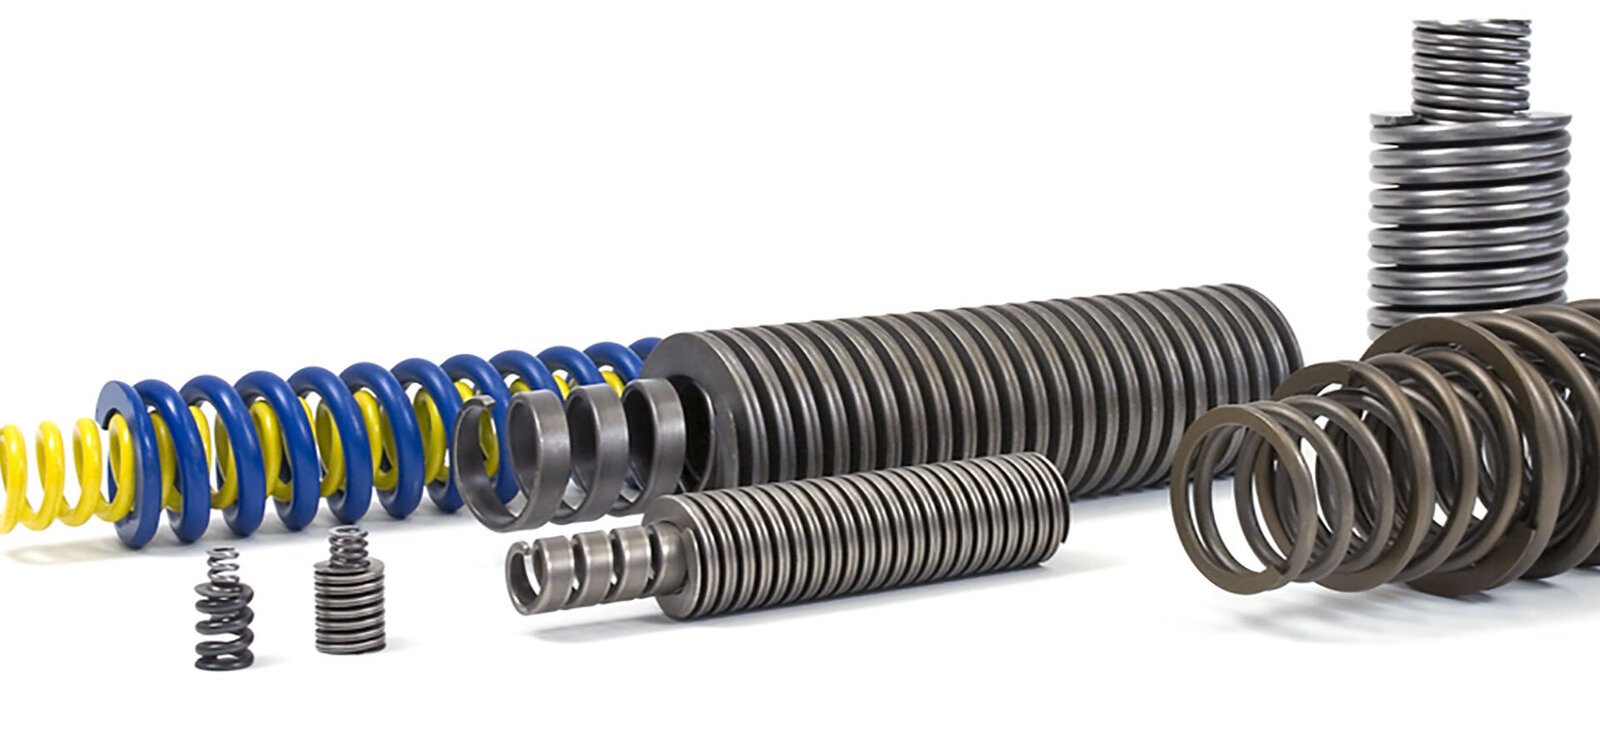
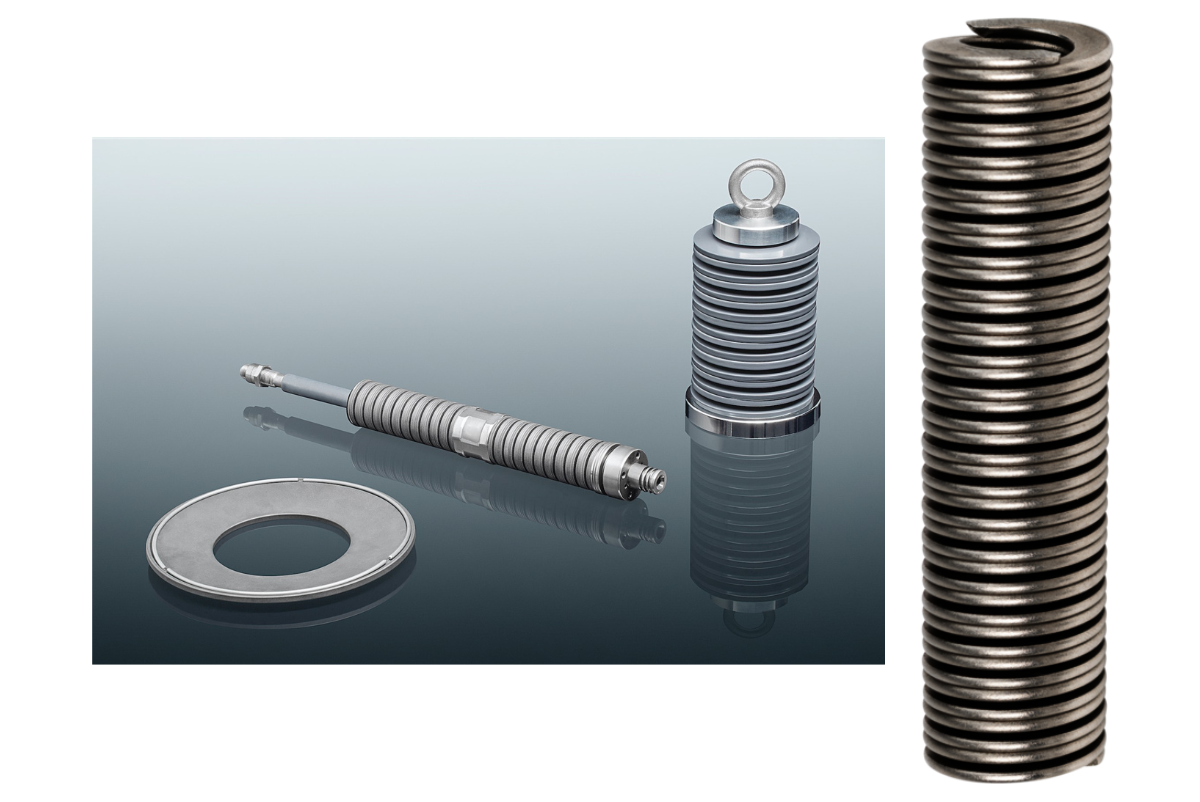
Helicodisc Springs
Direct from Germany
We are proud to source our technical springs directly from Dr. Werner Röhrs GmbH & Co. KG, a renowned German manufacturer with over a century of expertise. This partnership ensures that we provide our customers with components that meet and exceed stringent OEM quality standards for critical applications like spindle clamping forces.
Superior Quality Control: Röhrs adheres to a philosophy of quality, certified by DIN EN ISO 9001 and DIN EN ISO 14001 standards. Every spring undergoes meticulous quality control, including extensive initial sample and service life tests, to guarantee reliability and performance.
New Drawbar System
Enhance Your Machine’s Performance with Our High-Precision Drawbar Systems
Unlock the full potential of your machinery, whether it’s an Indian-manufactured workhorse or a high-end imported CNC system. We design, manufacture, and supply state-of-the-art drawbar systems engineered for superior performance, reliability, and precision clamping force.
The Problem with Outdated Drawbars
- Poor surface finish on finished components.
- Increased tool wear and frequent cutting tool breakage.
- Fretting (microwelding and discoloration) on the spindle and tool holder taper surfaces.
- Worsening repeatability and dimensional inaccuracies in production.
- Potential catastrophic failure or unexpected tool release, posing safety risks and significant downtime costs.
Belleville Washers
Mubea Germany Disc Springs: Uncompromising Quality for Spindle Clamping Force
When the application demands extreme force in minimal space, Mubea disc springs are the global standard. We are your direct source for genuine Mubea Germany disc springs (also known as Belleville washers), ensuring your machine tool spindles achieve and maintain their required clamping force with German precision and reliability.
Mubea employs specialized manufacturing techniques, including fine blanking (for thicknesses between 1.25mm and 6mm) and shot-peening as standard practice. These processes induce favorable compressive stresses, dramatically increasing fatigue life and operational safety, which is crucial for high-cycle machine tools.
We work with end customers to select the correct spring stack configuration to meet the precise clamping force requirements for specific spindle models, restoring machine precision and preventing costly tool slippage or damage.


